Taping Everything: Our Second Blower Door Test
Following up on our first blower door test…
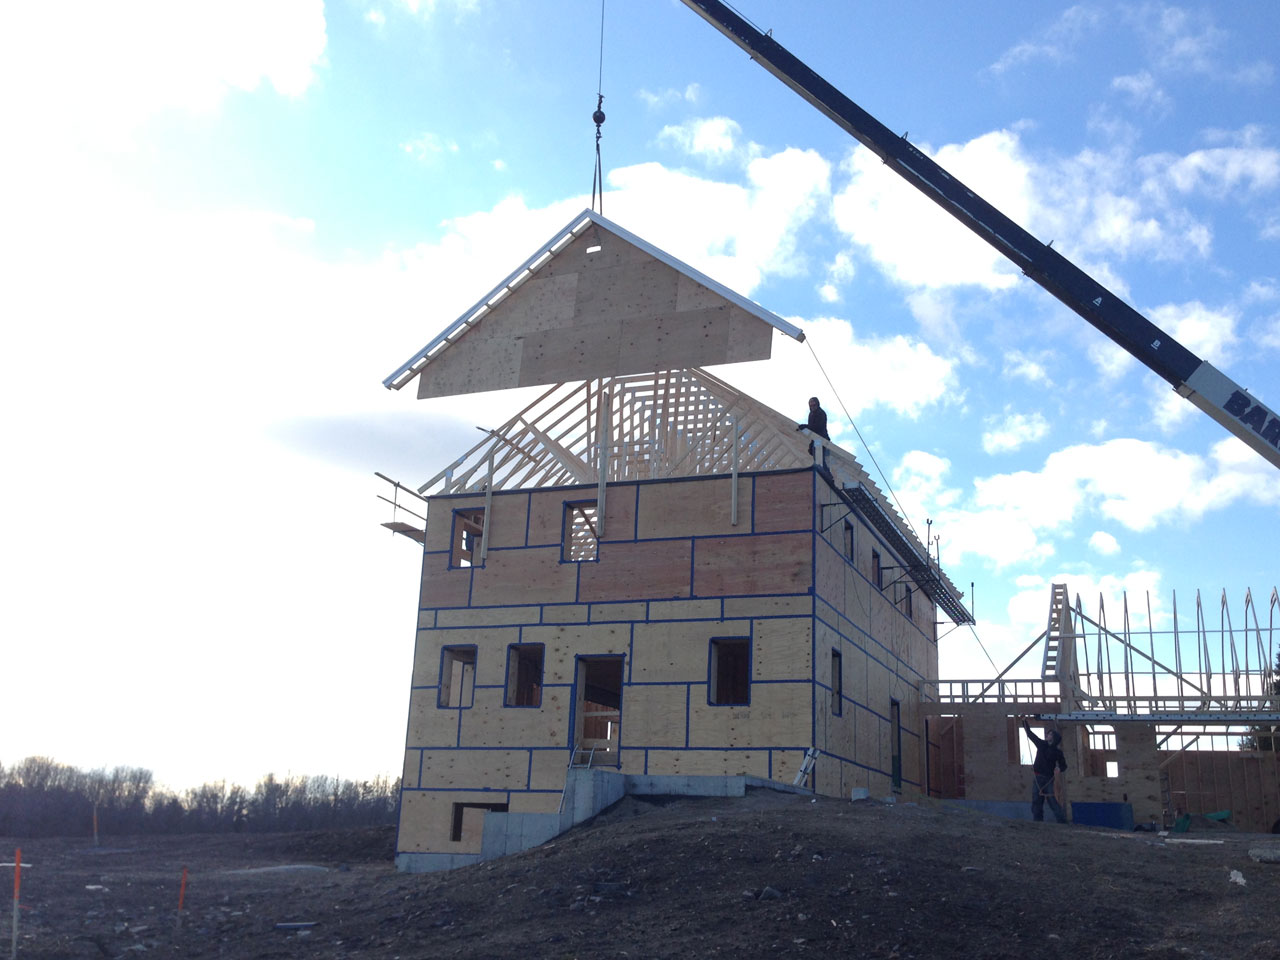
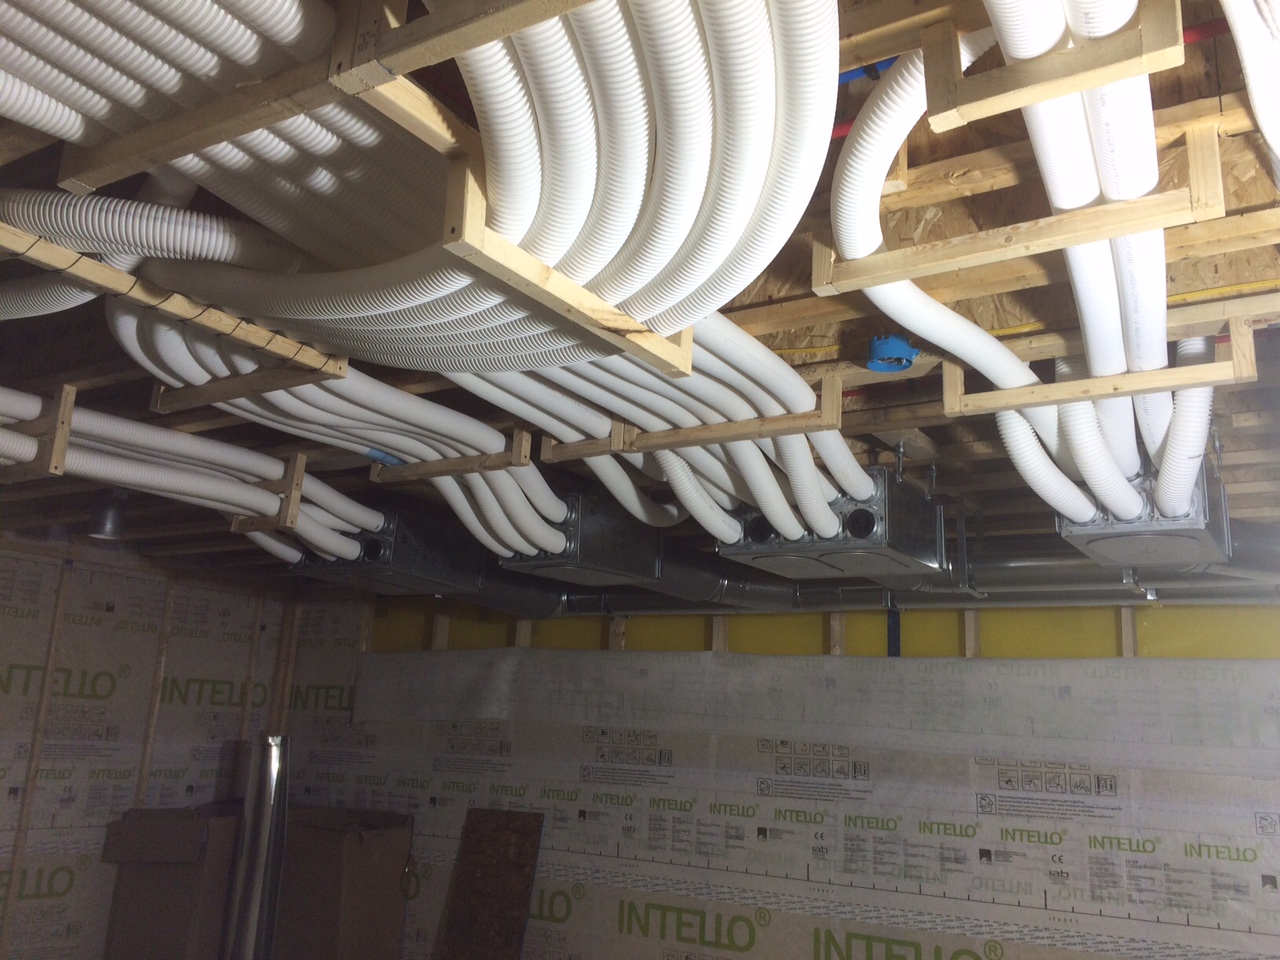
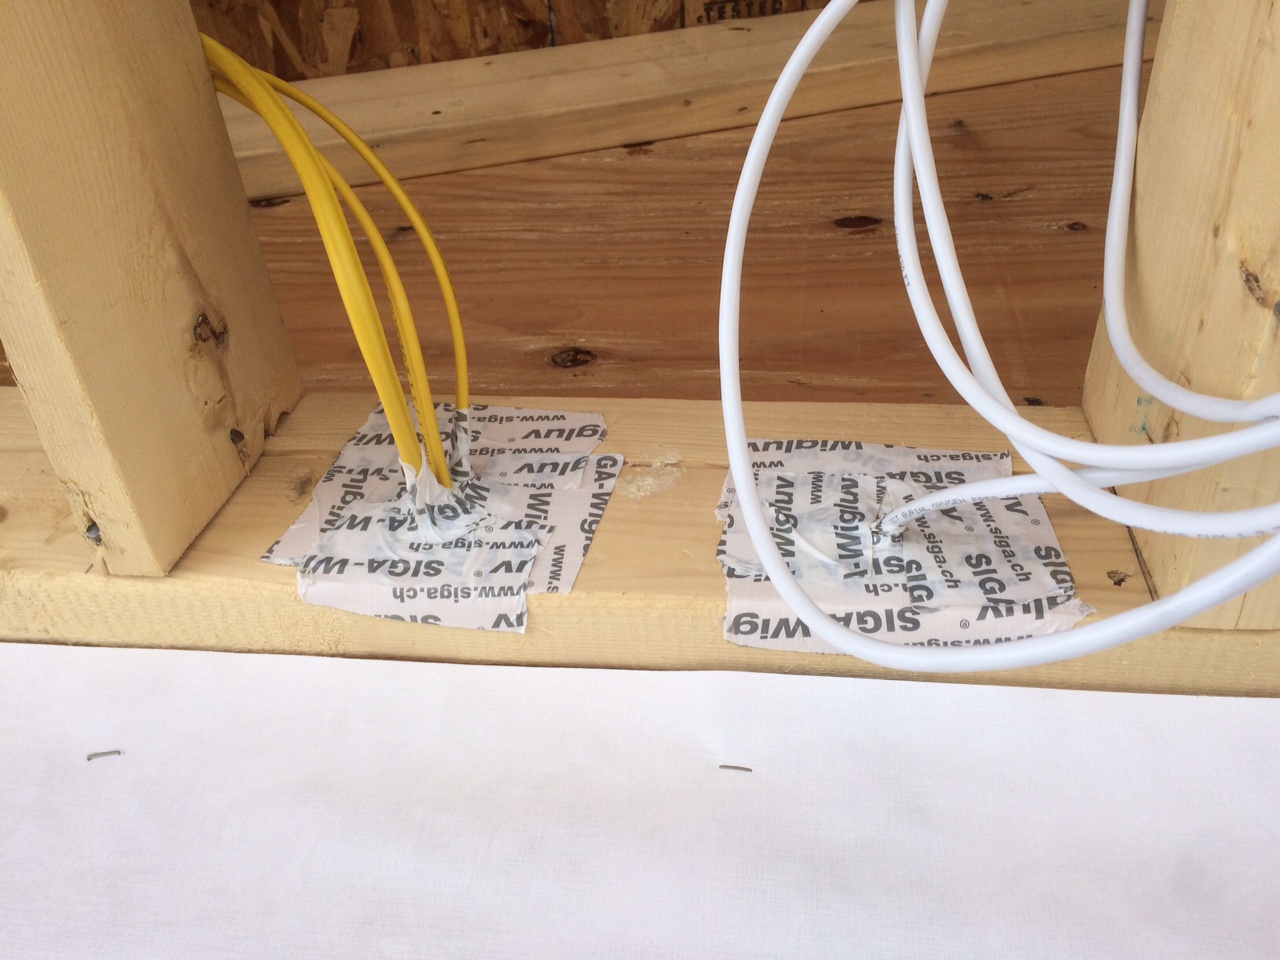
After the mechanicals were roughed in, it was time to air seal everything, again. In this case, any plumbing and electrical penetration must be sealed. This was mostly the case in the ceiling of taped OSB plywood. We did not have boxes for lights cut in, but rather pancake electrical boxes so all the electrical penetrations were wires.
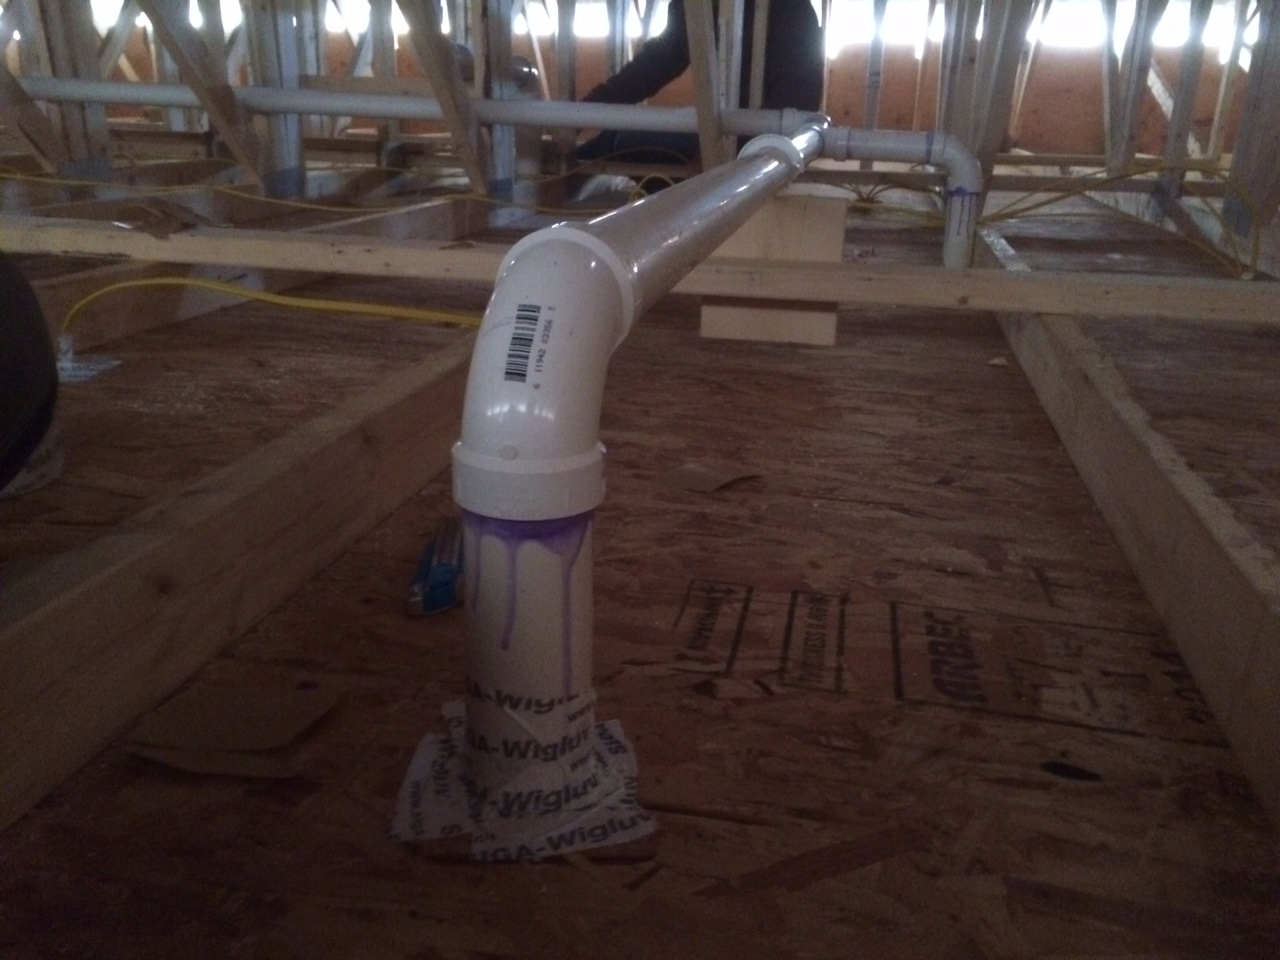
Plumbing penetrations were limited and consisted of a few 2.5″ PVC vent stacks, a 4″ vent stack, and conduit for future solar. All the penetrations were foamed from below, taped from the top and then taped again from the bottom (where accessible). We used SIGA Wigluv as it was the best at adhering to the OSB and the penetrating materials.
Good Air Barriers
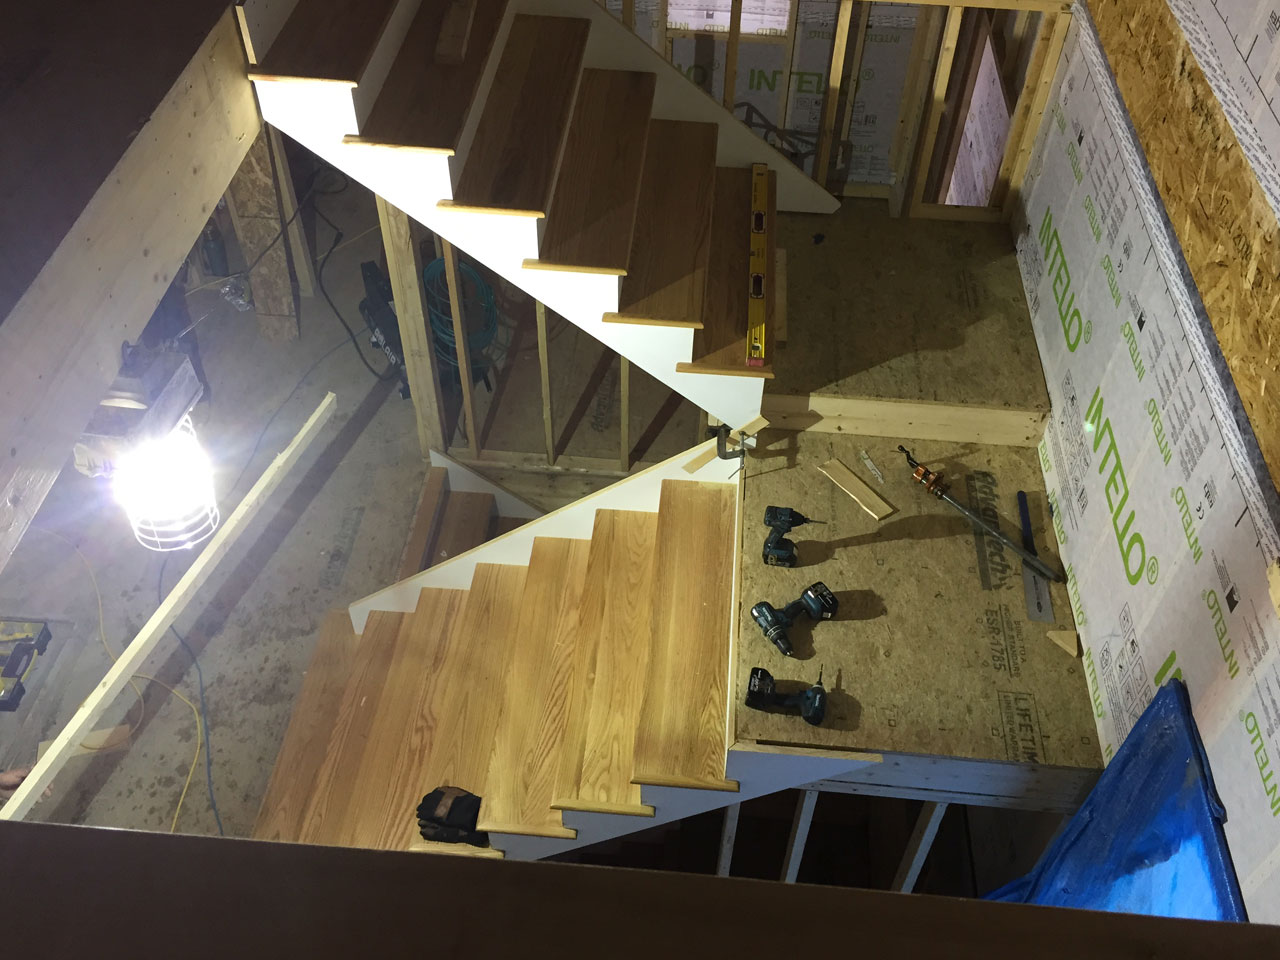
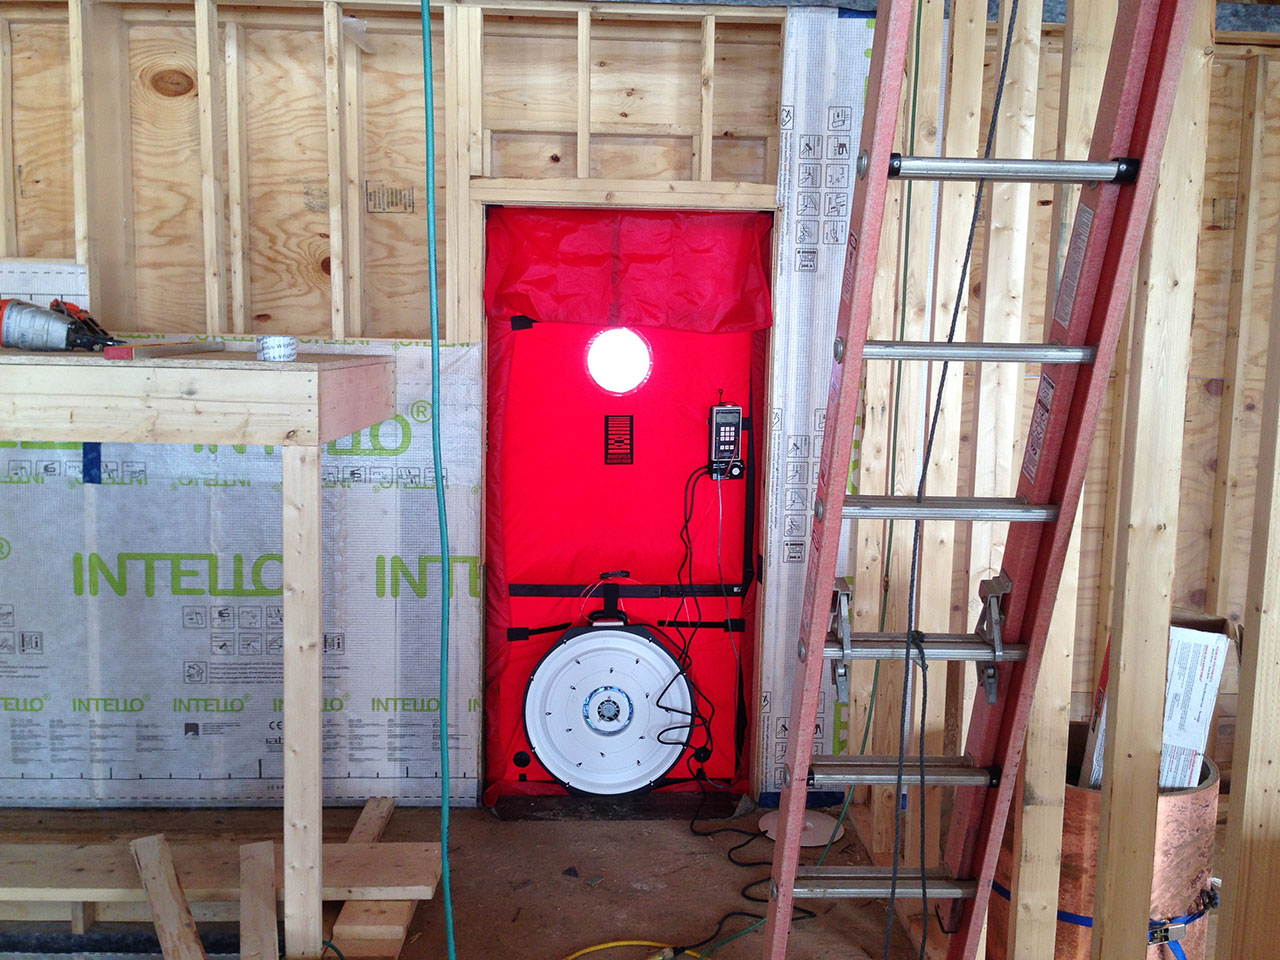
Additional penetrations were at locations where hose bibs exited the house, electrical wires for outdoor outlets and lights, and exterior switches were located. After these were taped, foamed and sealed, we set out to do our second blower door test. At this point, we still had no windows and no doors. To create a good air barrier for the windows and doors, we had previously siliconed the rough opening, adhered plastic sheeting and then covered it with Intello.
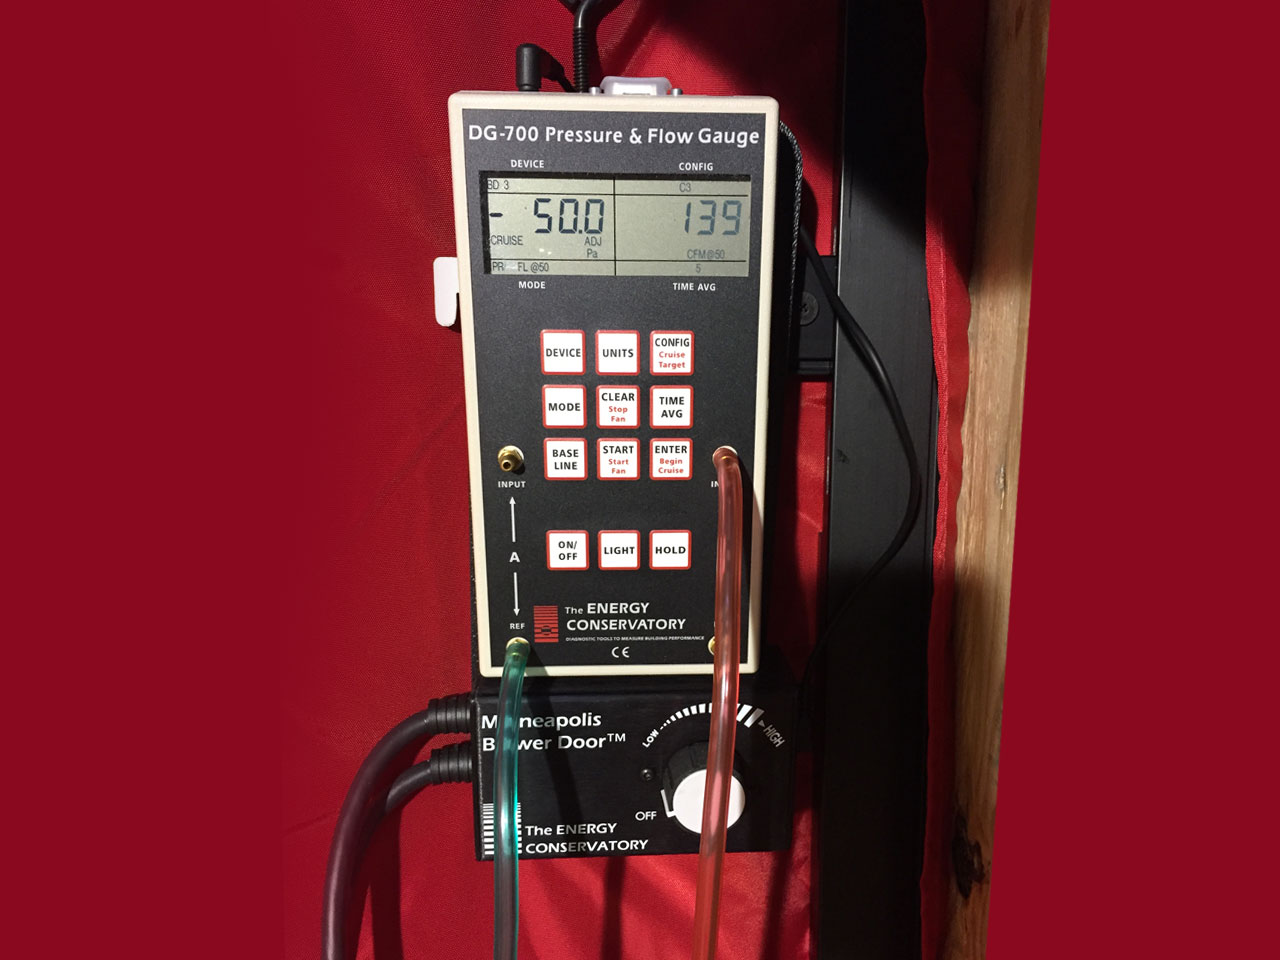
In addition, we had used Tyvec on the exterior of the CDX plywood. This blower door test was better than our first, even with all the penetrations made by the trades. We got 139 CFM at 50 pascals. This equates to 0.25 air changes per hour. This was a really good result since passive house standard is 0.6 ACH50 or below.
We were pretty excited about how being meticulous has really paid off!