First Blower Test and Second Air Barrier Test
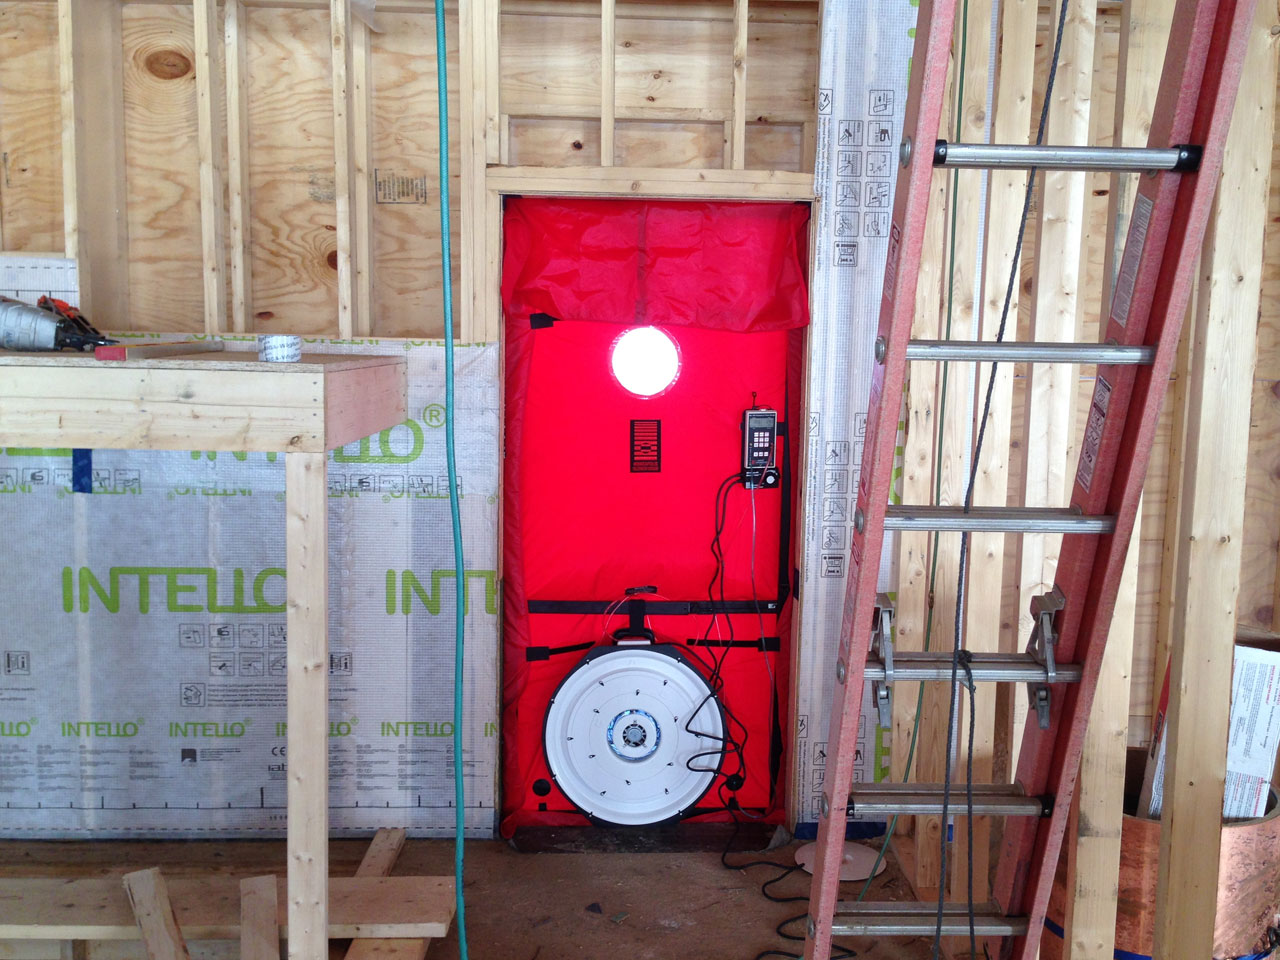
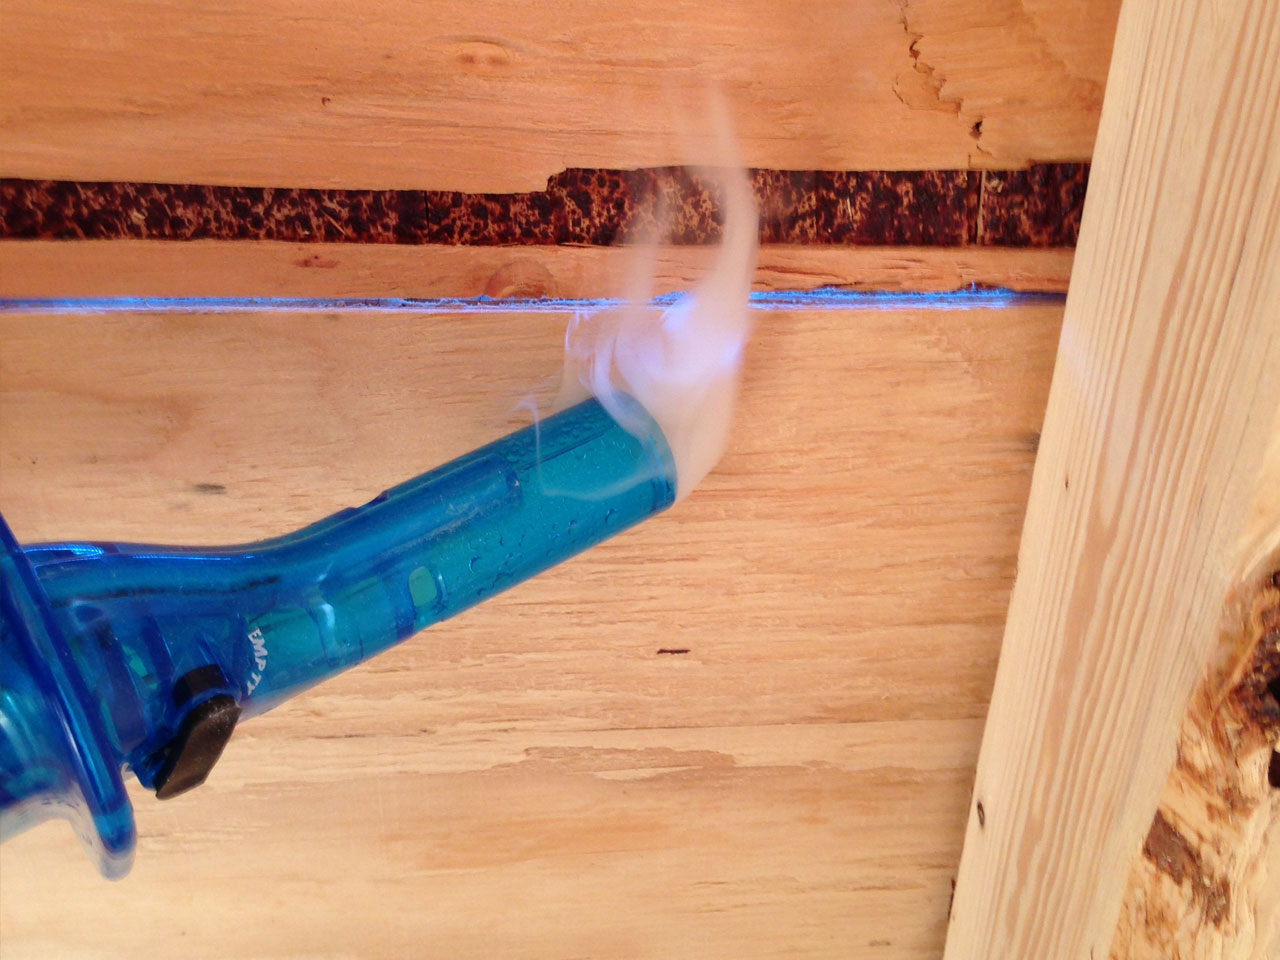
One of the bests decisions we made was investing in our own blower door to complete a blower door test.
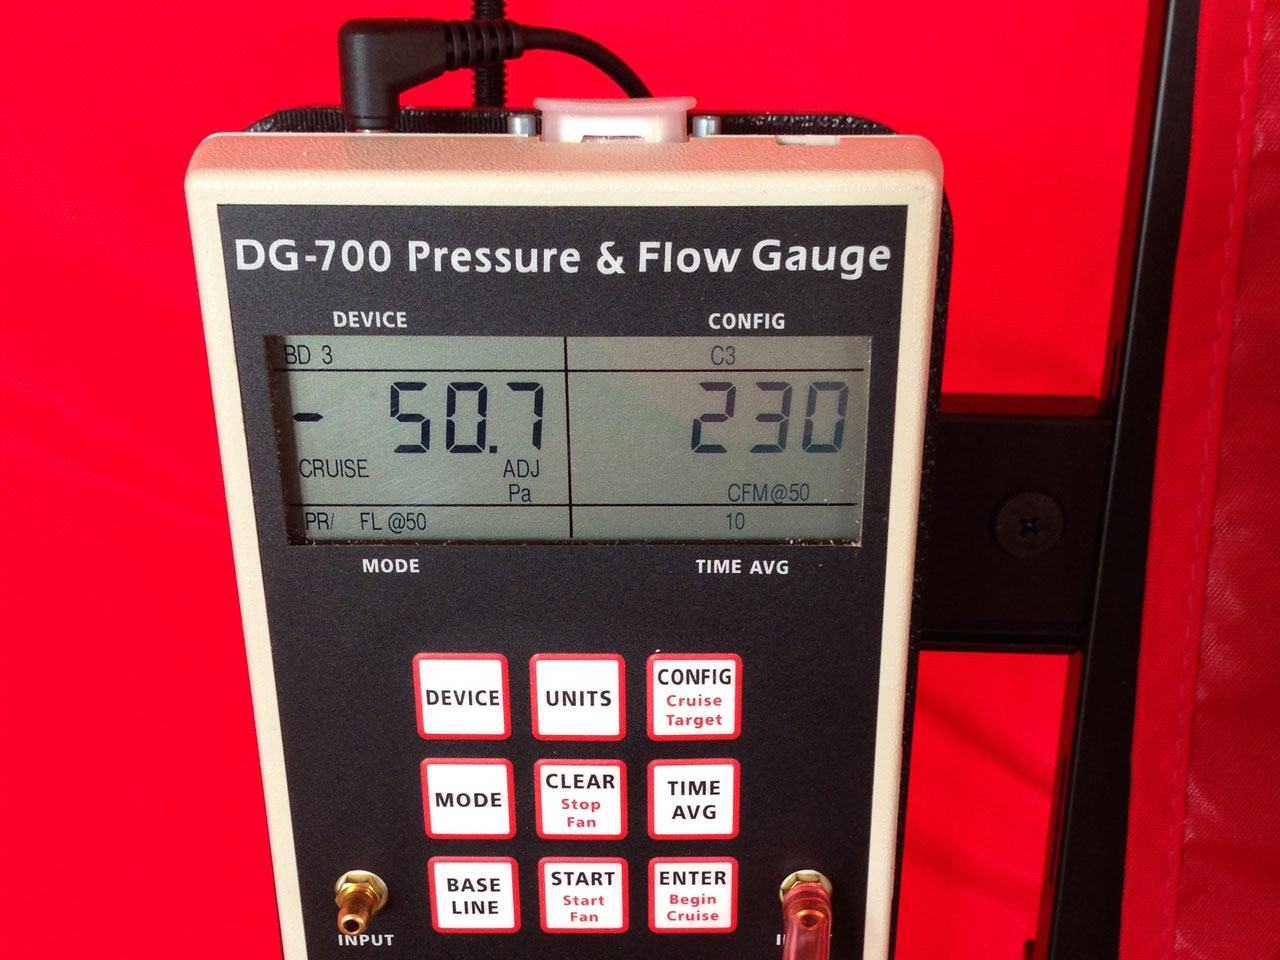
Now, on a calm day, we can seal up the house and run the blower door for long periods of time. This allows us to leak check every inch of our exterior air barrier. The blower door test allows us to either pressurize the house, or depressurize it. Depressurizing the house is the standard used for measurement of air leakage in building tight homes. Usually measured when the depressurization is 50 pascals, the air leakage is given in the for of cubic feet per minute (cfm) of air leakage. Using the volume of the house (in passive house measurements, we measure to the inside of the sheathing), we divide the cfm reading into that to get air changes per minute. Multiply that by 60 min per hour and we end up with 0.41 ACH50. That means the structure sees 0.41 air changes of the total volume in one hour.
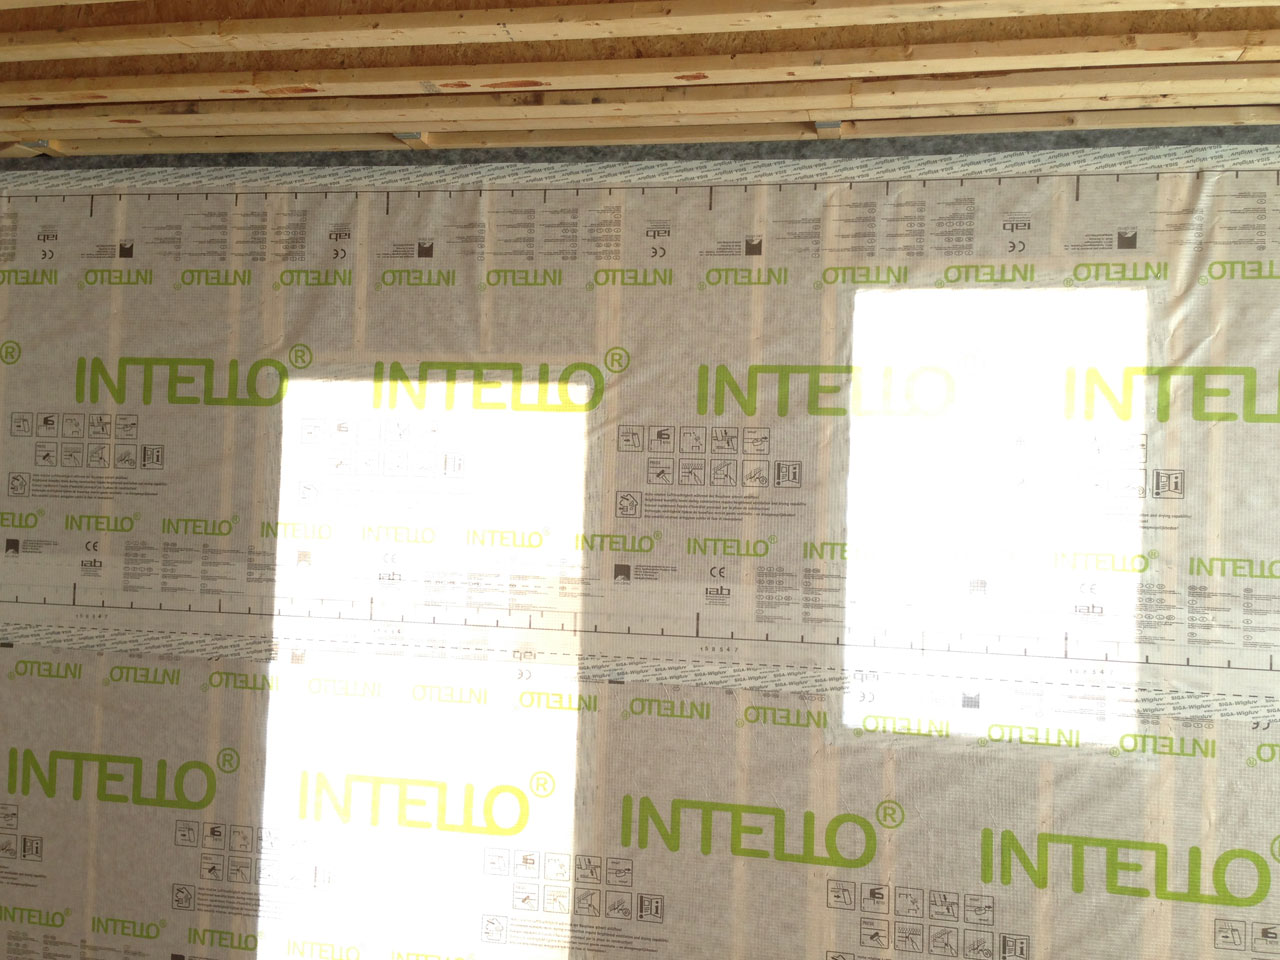
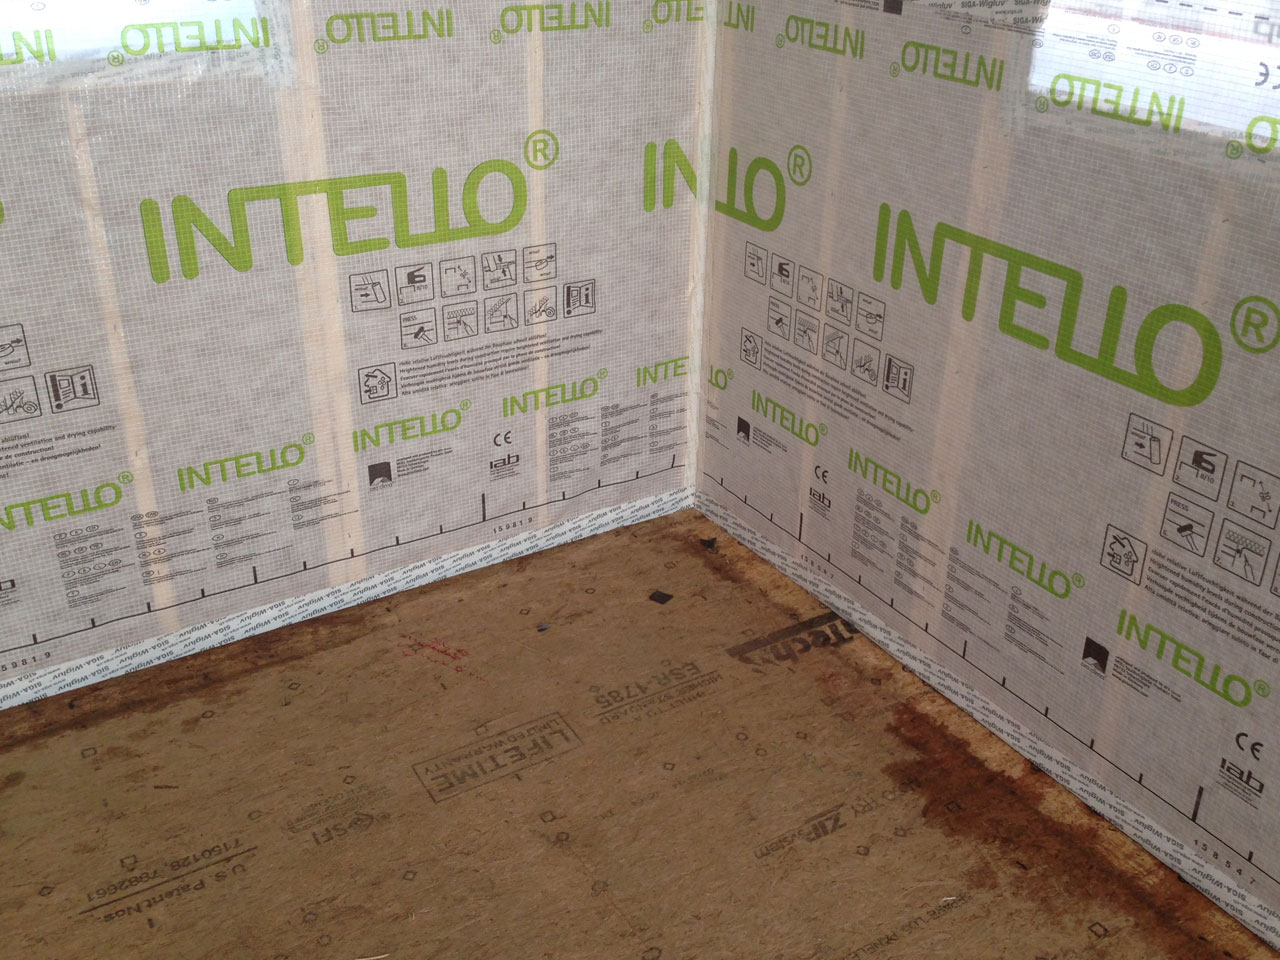
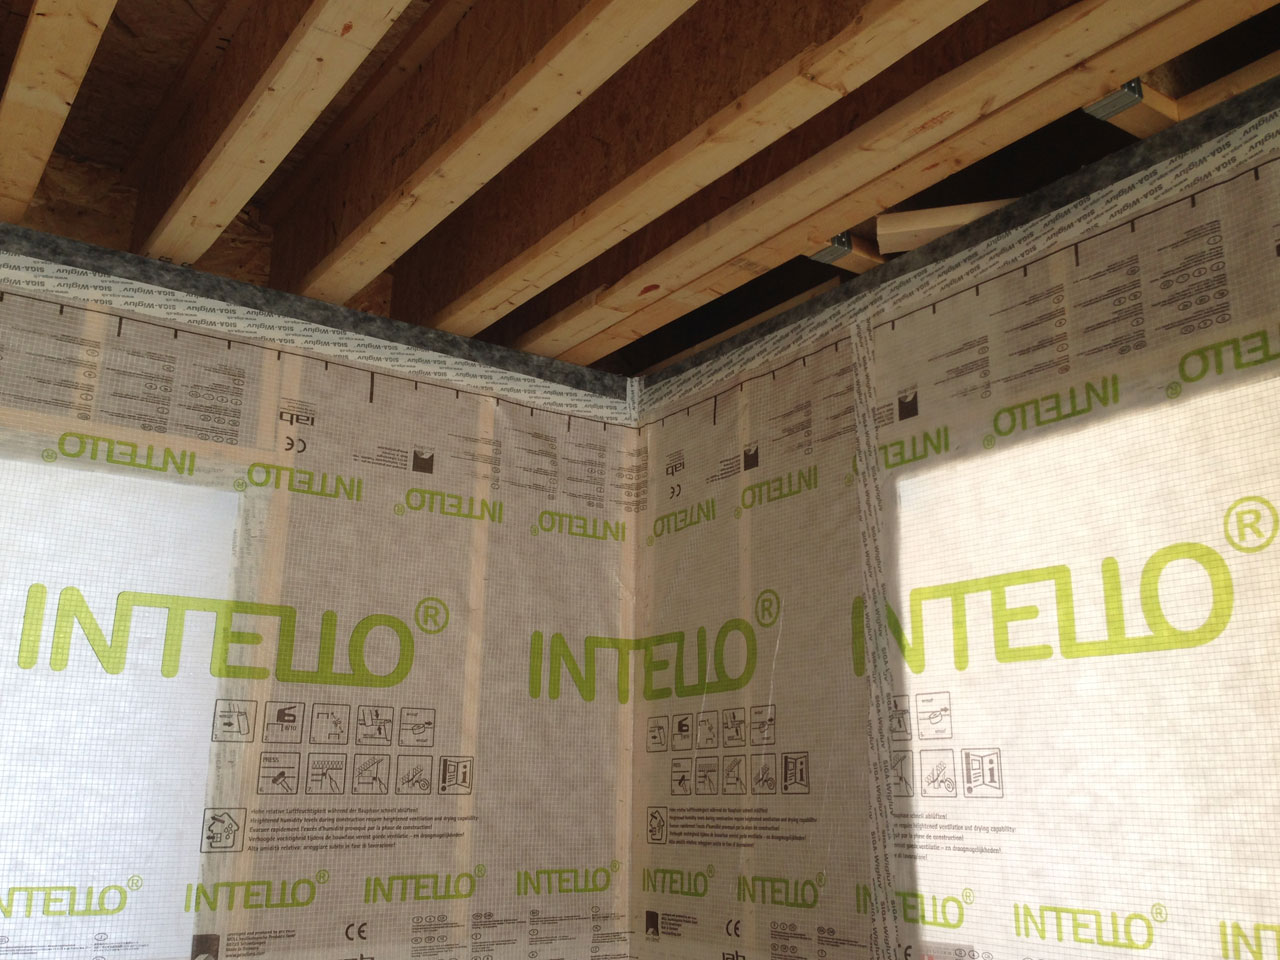
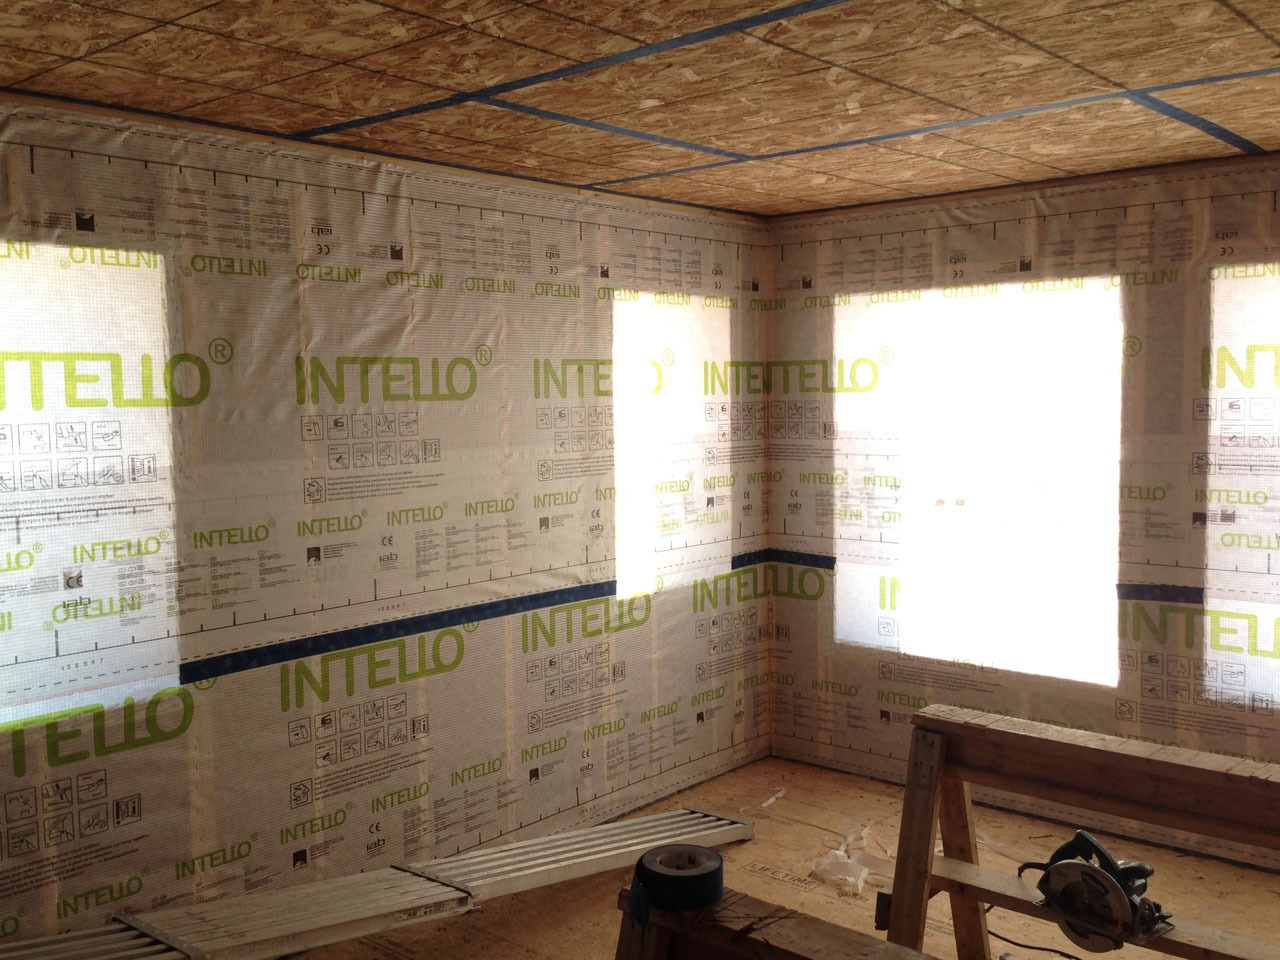
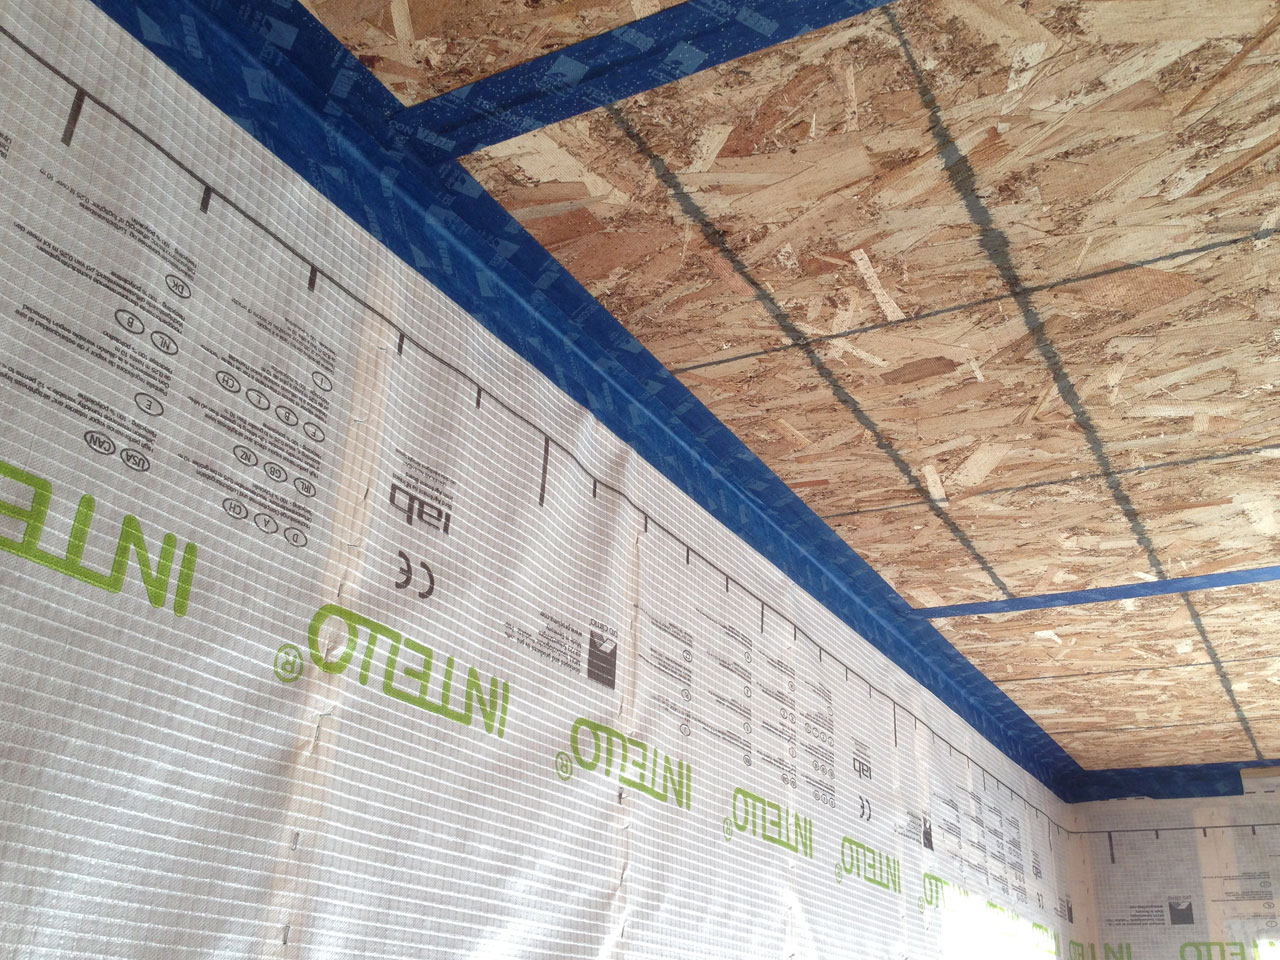
Since we are planning to dense pack the walls, we need a membrane to keep the dense pack in the walls. Normally, an insulation contractor will supply webbing that is stapled to the studs. This method, although useful, is generally messy and does not provide any air barrier. Our passive house consultant, Chris, recommended the use of intello, an intelligent membrane designed to provide air tightness and directionally permeable. This provides function as well as a clean look.
To make the Intello another continuous air barrier, we taped all the seams, as well as where our Mento came in under and over the floor system and where the Intello met the ceiling sheathing. Although we are relying on our exterior air barrier as the primary, we believe that some extra time spent on this aspect couldn’t hurt our blower door test.